Selecting the proper audio interface can have a drastic effect on VST latency. Your computer’s built-in sound card is perfectly fine for casual music listening, but it’s most definitely not suited for any serious music production or performance work.
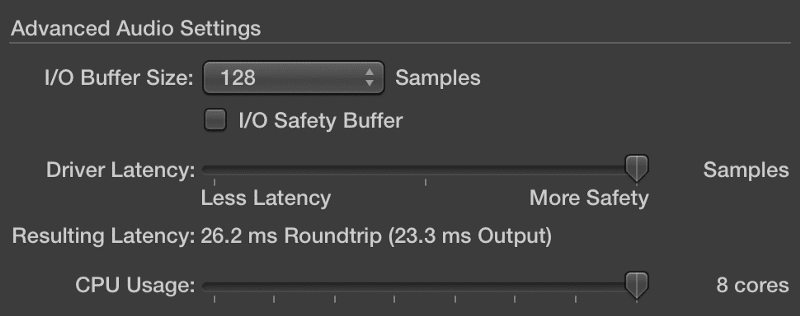
The screenshot below shows the latency of the built-in sound card in my 2016 15″ MacBook Pro. While this is a top of the line machine for music production work, the audio driver quality is actually severely lacking. A VST output latency of 23.3 ms is simply unusable for live performance.
The screenshot below shows the latency of my JDS Labs O2+ODAC, a popular DAC/headphone amp combo in the audiophile world. Even though this product wasn’t designed for pro audio work, it still performs much better than the MacBook Pro’s built-in sound card — 7.9 ms versus 23.3 ms.

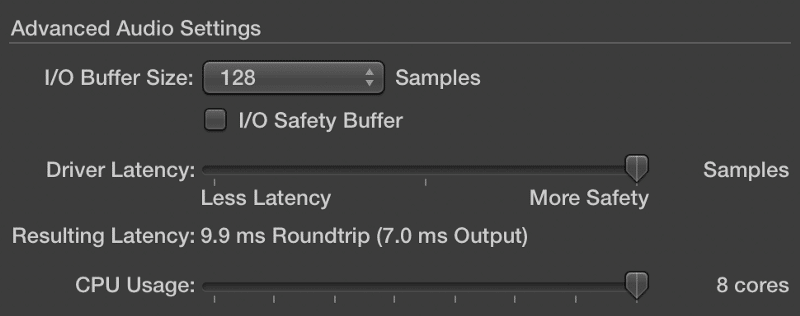
Finally, this screenshot shows the latency of my RME Babyface, a professional audio interface for music production and performance. As you can see, the latency drops even further to 7.0 ms.
The big differences in latency has almost everything to do with an audio interface’s software drivers. In short, a driver is software that is responsible for transporting audio to different places inside your computer.
Some companies use MacOS’ Core Audio driver, which wasn’t created specifically for professional use. Other higher end companies like RME and Universal Audio have proprietary software drivers tuned for maximum performance and efficiency
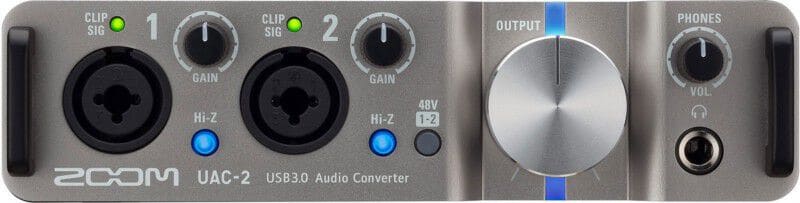
Zoom audio interfaces offer superb low latency performance at a great price. In fact, they’re even being used on several Broadway shows and other professional productions around the world.
Buffer Size
In digital audio, a waveform is created by a large number of samples. A sample represents a specific amplitude at a specific point in time. When digital audio needs to be processed or played back, a user-definable number of samples must be loaded into a temporary buffer before being processed by the computer’s CPU.
Imagine you’re in the studio recording a vocalist into Pro Tools. Instead of using your RME audio interface’s direct monitoring feature, you choose to monitor the processed output signal coming out of Pro Tools. The vocalist complains about the noticeable lag between her singing and when she hears herself in her headphones. Let’s take a deeper look at this process.
- The vocalist sings into the microphone, and the resulting diaphragm vibrations are converted into an electrical signal.
- The low-level electrical signal is then sent to an audio interface’s pre-amplifer via a XLR cable.
- The amplified electrical signal is sent to the audio interface’s ADC (analog to digital converter), where it is encoded into a string of 1’s and 0’s. This conversion process typically takes around 0.5 ms.
- The digital signal is sent to your computer via USB.
- The digital signal is sent from the USB bus to Pro Tools via your RME interface’s audio driver.
- Pro Tools processes the audio.
- The digital signal is sent from Pro Tools to the USB bus via your RME interface’s audio driver.
- The digital signal is sent to your RME audio interface over USB.
- The digital signal is sent to the audio interface’s DAC (digital to analog converter), where it is converted back to an electrical signal. This conversion process typically takes around 0.5ms.
- Finally, the electrical signal is routed to the audio interface’s line and headphone outputs for monitoring.
Step 6 onward can be applied to playing a VST instrument as well.
Steps 4 – 5 and 7 – 8 require CPU processing to move samples of audio to various places. This means a buffer is required to regulate CPU usage. Buffer size is represented in samples, digital audio’s smallest unit of measurement.
You can think of a buffer as temporary storage container for audio samples before they are sent elsewhere for further processing. Since the buffer is filled at a fixed rate (the user-defined sample rate), a large buffer will require more time to fill. Coincidentially, this also means the computer’s CPU has more time to “rest” between processing cycles.
Take a look at the diagrams below.
The first diagram represents a 64 sample buffer, while the second depicts a 1024 sample buffer.
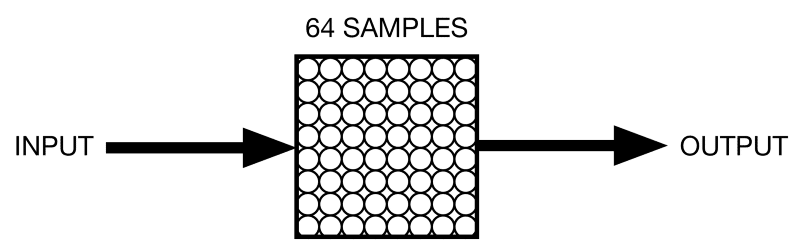
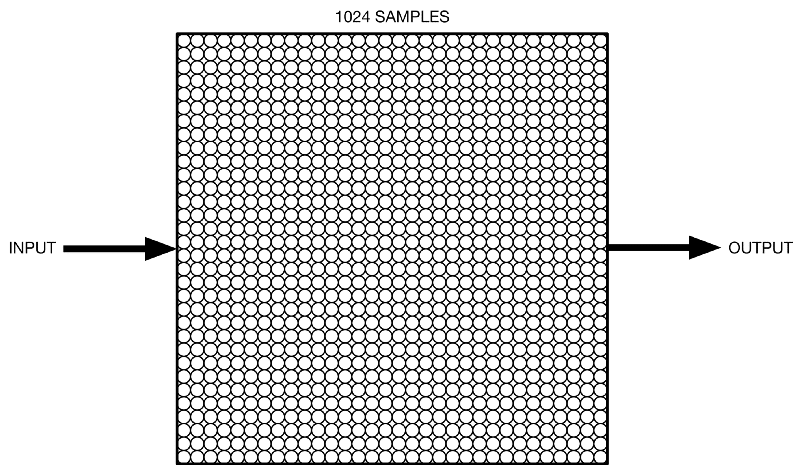
Do you see why a larger sample buffer is less taxing on the CPU? Imagine these two systems processing audio over a period of 5 minutes. Since it takes more time to fill up the 1024 sample buffer, the CPU will have to do less work over the same period of time. Thus, the time it takes for the buffer to fill up can be defined as latency.
Sample Rate
Contrary to popular belief, increasing your system’s sample rate will actually reduce your latency. Latency can be calculated by dividing buffer size by sample rate. Provided we use a consistent buffer size of 128 samples, the following can be calculated.
44.1 KHz (44,100 Hz)
128/44,100 ~ 2.9 ms of latency
96 KHz (96,000 Hz)
128/96,000 ~ 1.33 ms of latency
With this in mind, why wouldn’t you want to increase the sampling rate to something obscene like 192 KHz or 384 KHz?
Remember when we said the audio buffer is filled at a fixed rate? That rate happens to be your system’s sampling rate. Thus, an increase in sampling rate will fill up the audio buffer faster, resulting in more CPU usage.
Standalone vs. Host
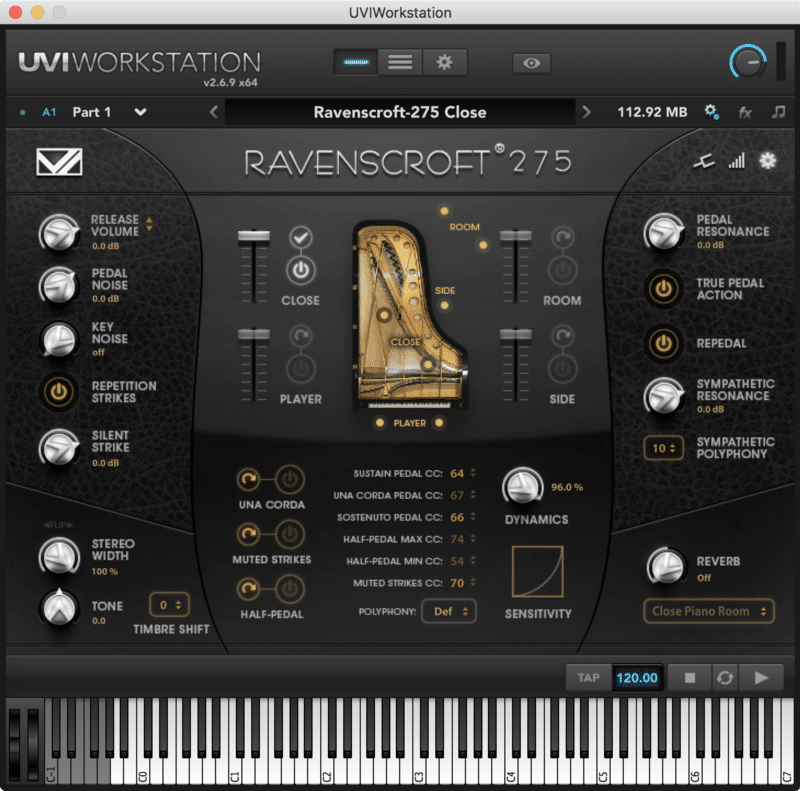
Some VST plugins like Native Instruments Kontakt and UVI Workstation can be used in standalone mode. Others like Spectrasonics Omnisphere and Keyscape can only be used inside a DAW or host software like Ableton Live or Apple MainStage.
If your set only uses a few Kontakt libraries without complex programming in a host software like MainStage, just use the standalone version of Kontakt. Likewise, if you’re only going to be playing on a grand piano sound, just load up Ravenscroft 275 in the standalone UVI Workstation.
Some VSTs have standalone apps. Use those whenever possible.
Using a VST in standalone mode eliminates the extra latency and resource overhead of a host program.
Mechanical Hard Drive vs. SSD
While the speed of your hard drive doesn’t directly affect latency, it can definitely have an effect on overall system performance. If you hear audio glitches while playing back large sample libraries, increasing the buffer size (thus increasing latency) may not be the best way to fix the problem.
Conclusion
As you can see, the relationship between audio driver, buffer size, and sample rate is important (and fragile). Here’s what I recommend.
- First, get a decent audio interface with optimized drivers. Once again, there’s no need to drop $2,000 on RME gear. Zoom’s UAC-2 and UAC-8 perform just as well in the latency department.
- Stick with 44.1 KHz or 48 KHz. These sample rates offer the best compromise between sound quality and system performance.
- Reduce the buffer size until you start hearing audio clicks and pops, then increase it one notch. For example, if you start hearing glitches at 128 samples, try set it to 256 samples instead.