In this tutorial, you’ll learn how to make MIDI mappings in Ableton Live without a hardware MIDI keyboard controller. To accomplish this, we’ll be using Apple MainStage’s external instrument channel strips to communicate with Ableton Live via MacOS’s built-in MIDI IAC Driver.
Create an IAC MIDI Port
MacOS ships with a handy virtual MIDI device called the IAC Driver. It enables you to route MIDI data between software applications without the need for a physical loopback through a hardware MIDI interface.
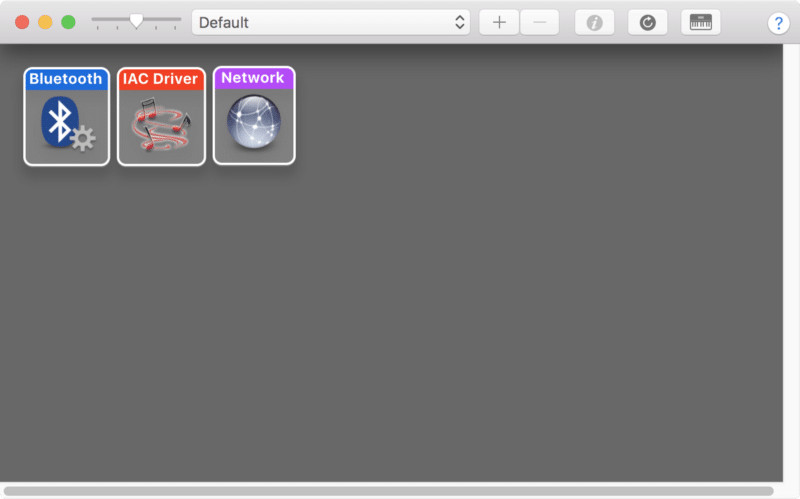
To access the IAC Driver settings, navigate to ~/Applications/Utilities, and open up the Audio MIDI Setup application. Press ?2 to bring up the MIDI Studio window.
Next, double click on the IAC Driver icon.
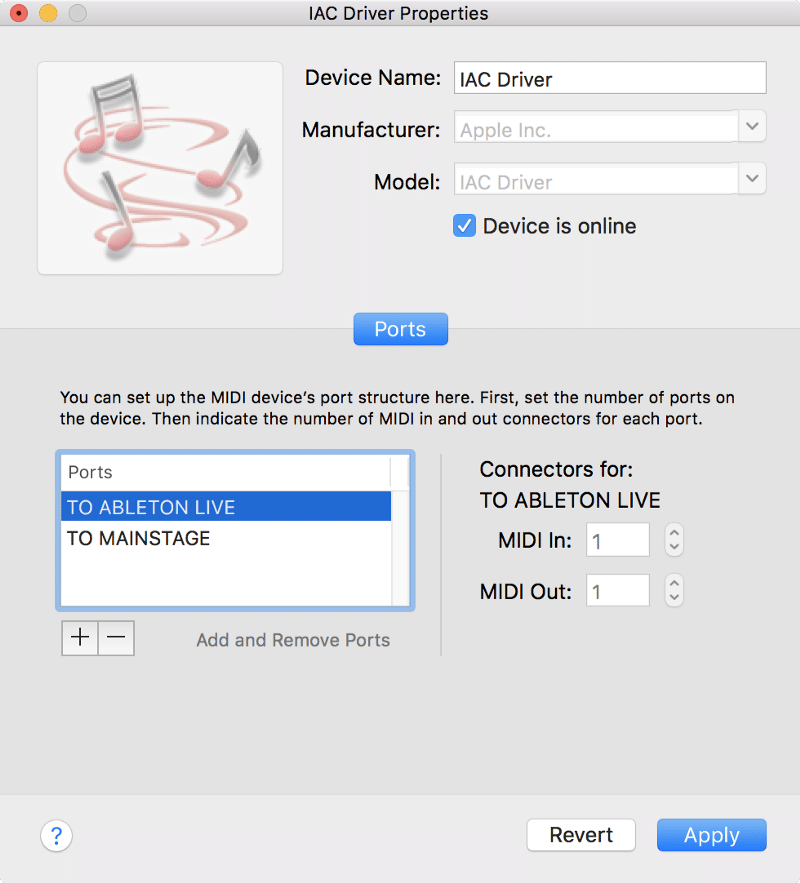
Click on the checkbox next to “Device is online,” and then create a new port by clicking on the arrow next to “Add and Remove Ports,” You can name the port whatever you want, but I named mine “TO ABLETON LIVE,”
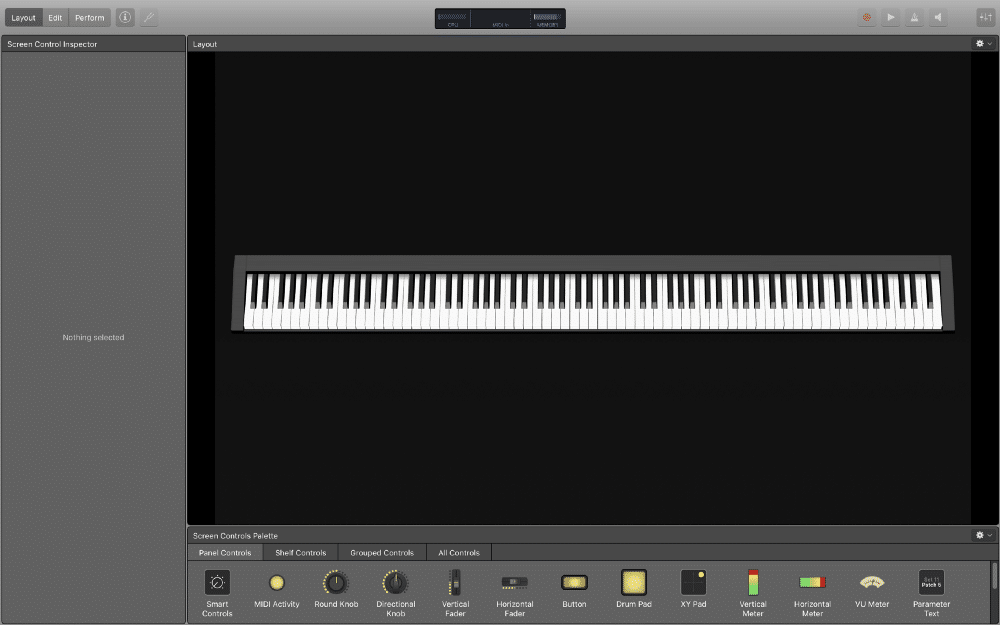
Create a MainStage Template
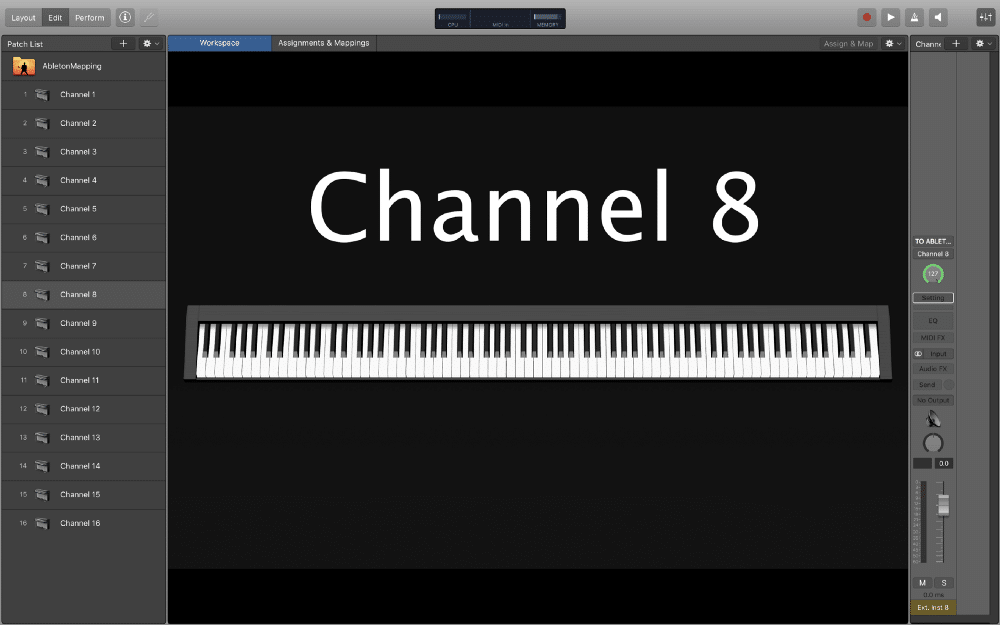
Next, we have to create a MainStage template to send MIDI data to Ableton Live via the “TO ABLETON LIVE” IAC Driver port. To do this, we’ll use external instrument channel strips with the correct MIDI port and channel assignments. After these channel strips are set up, all we have to do is click on MainStage’s on-screen keyboard to send MIDI note data to Ableton Live.
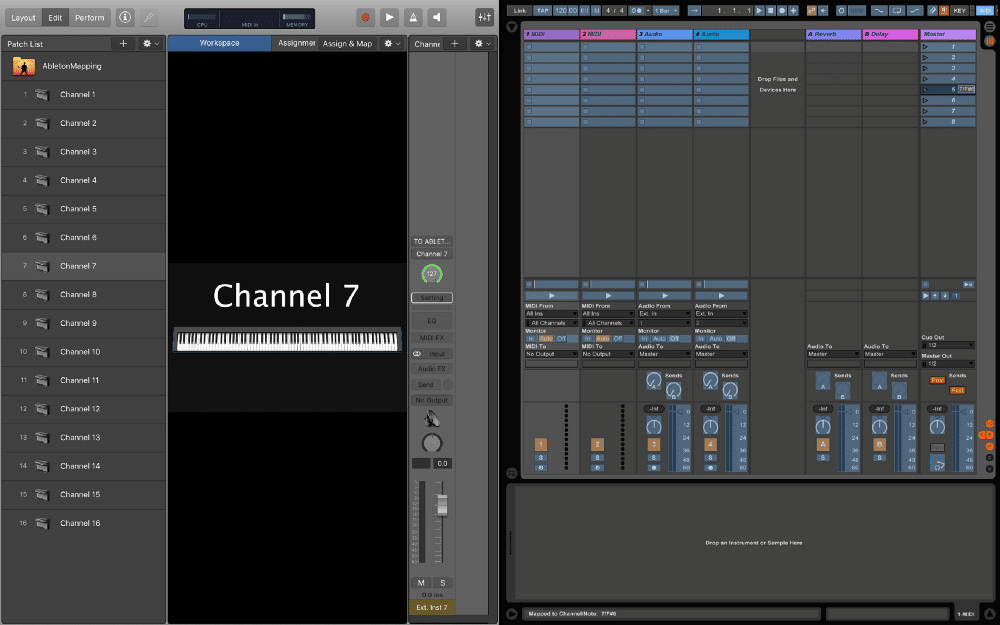
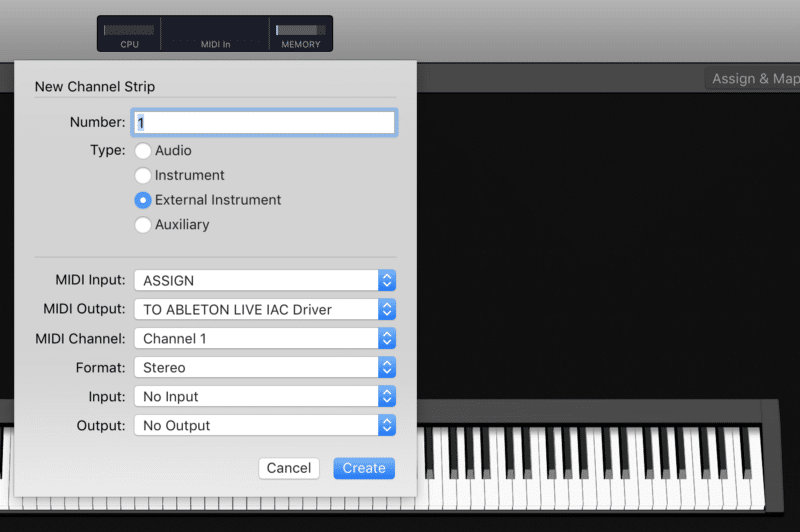
Next, create a patch with an external instrument channel strip with the following settings.
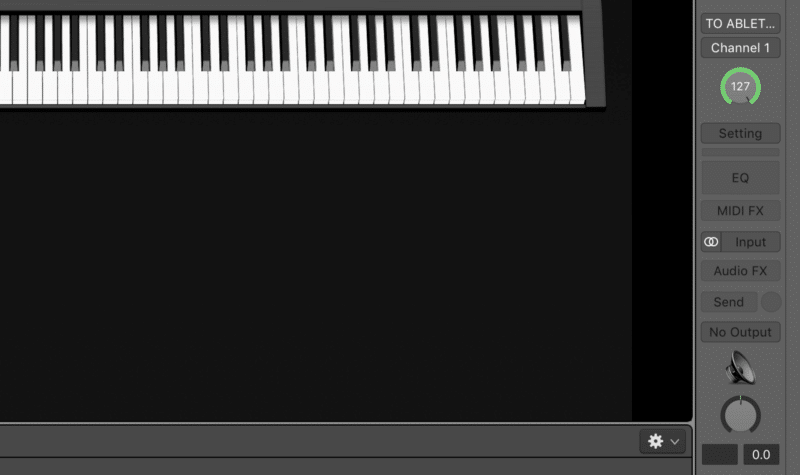
This is what the external instrument channel strip should look like.
If you don’t want to go through the trouble of creating a template, click here to support me on Patreon. You’ll get access to the MainStage template used in this tutorial and other exclusive content!
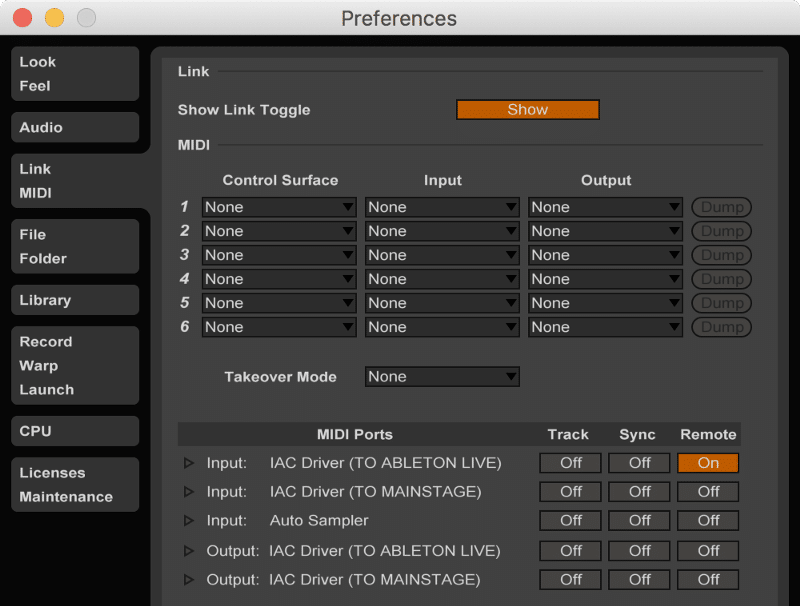
Next, navigate to Ableton Live’s MIDI preferences, and activate the Remote switch for the “TO ABLETON LIVE” MIDI input. This setting allows Ableton Live to receive MIDI mapping data from other sources.