Twenty years ago, building an affordable home studio was pretty much an impossible task. Since then, there has been lots of innovation in the music recording technology industry, and building your own personal home recording studio is no longer a pipe dream. Astronomically priced gear still exists, but building a decent home studio for $1,000 or less is completely doable. Before I go into more detail, here’s a list of things you’ll need for a basic studio setup.
- Someone and somewhere to record
- A microphone
- An audio interface
- A DAW (digital audio workstation)
- Studio monitors and/or headphones
- Cables and other accessories
If you’re reading this article at home right now, you probably have a computer. If you don’t, you’ll have to get one. Basic audio recording isn’t a very resource-heavy, even an entry Mac Mini or MacBook Air will perform the task just fine.
Someone and Somewhere to Record
This is probably obvious, but what are you going to do with a recording studio if you have no one or nothing to record? If you’re a singer songwriter, then you’re all set. If not, call some friends and ask if they want to sing or play guitar. Find someone patient because there will be lots of experimenting when you’re just getting familiar with your gear.
Try to find a quiet place to record. Some microphones are very sensitive, and capture even the slightest room noises. Some people may argue that it’s important to have an acoustically treated room, I firmly believe all of that stuff should come after you decided if recording music is something you want to pursue as a serious hobby. For now, just find a quiet place.
The Microphone
The microphone might just be the most important part of your home studio. Boutique microphones like vintage Neumann U87s can cost thousands of dollars, but there are great budget microphones as well for $200 or less. Before I give some recommendations, let’s talk about different kinds of microphones. As someone building his or her own studio, you’ll want to do some research about condenser microphones and dynamic microphones. I won’t go into the scientific and design differences, but here are a few pros and cons.
Dynamic Microphones
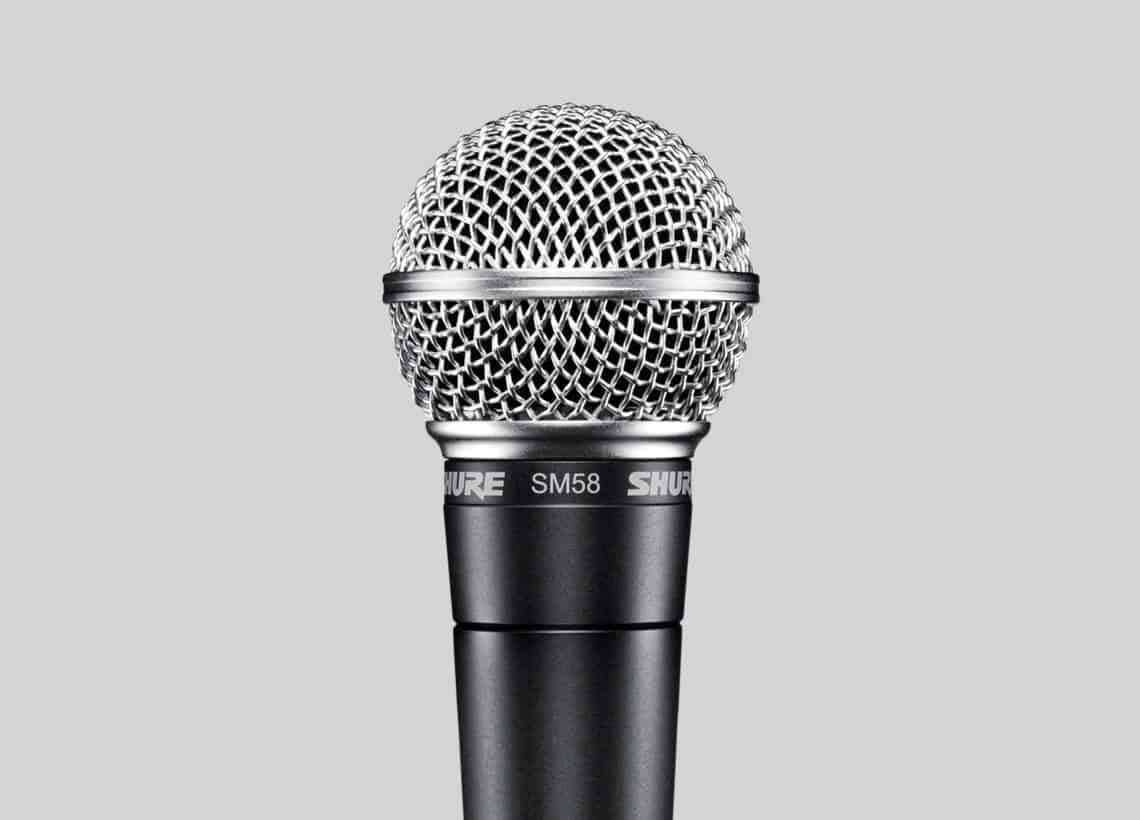
Dynamic microphones are ideal for loud sound sources, and are often used live. The Shure SM57 and SM58 have been industry standards for a long time, and you’ve probably seen a few of them if you’ve ever been to a concert. For the most part, they’re also more rugged and durable than condenser microphones. Since they are less sensitive, they don’t capture as much detail as condenser microphones.
Condenser Microphones
Condenser microphones are generally the choice for studio work. They’re more sensitive than dynamic microphones, and capture much more detail. With that said, they also capture more room noise. Condenser microphones come in two varieties – large diaphragm and small diaphragm. Condenser microphones are fragile pieces of equipment, so take care of them!
Buying your first microphone may feel like a daunting task. There are tens of thousands of choices out there, and everyone has their own opinion on what’s good and what’s bad. Since you’re just starting out, buying one large diaphragm condenser microphone is the wisest choice. Two popular starter LDCs include the MXL 990, Studio Projects B1. I’ve also owned a MXL V67G. It sounds nice for a budget mic, but some people find it to be too flashy.
The Audio Interface
The audio interface is the bridge between your microphone (and/or instruments) and your computer. Secondly, it also acts as the bridge between your computer and studio monitors – we’ll get into that later. Like microphones, audio interfaces also cover a huge price range. They also come in a variety of different sizes, and the unit of measurement here is “inputs” and “outputs,” Think about it this way – each microphone takes up one input.

The quality of the audio interface will affect your sound, but it’s not necessary to splurge right now. For starters, I recommend the Focusrite 2i2. It’s a 2 input/output unit. This means that you can record with two microphones simultaneously, and there are two outputs which can be used for your studio monitors. If you find yourself in need of more connectivity, Focusrite makes a whole line of audio interfaces with more inputs and outputs.
The DAW
A digital audio workstation (DAW) is a piece of software that lets you record and manipulate audio. There are lots of options to choose from, but Pro Tools is the industry standard. Unfortunately, the full version of Pro Tools is quite expensive…and it’s not really necessary if you’re just getting started. If you’re using a Mac, GarageBand can be used as a DAW. Logic Pro is also a popular choice for Mac users. While it can be used for audio editing and mixing, Logic really excels as a compositional tool as well. I don’t have much experience with DAWs on the PC platform, but a few of my friends are huge fans of Reaper. If you’re a student, you can get the full version of Pro Tools for less than $300 with the academic discount.
Studio Monitors
Studio monitors are actually speakers that are designed for use in a recording studio environment. They provide a more uncolored sound compared to traditional computer speakers. When I say uncolored, I mean they don’t overemphasize bass, mid, or high frequencies. Since we live on Earth and not some magical fairytale world, no studio monitor is perfectly flat. With that said, it’s as close as you’ll get to 100% representation of sound.
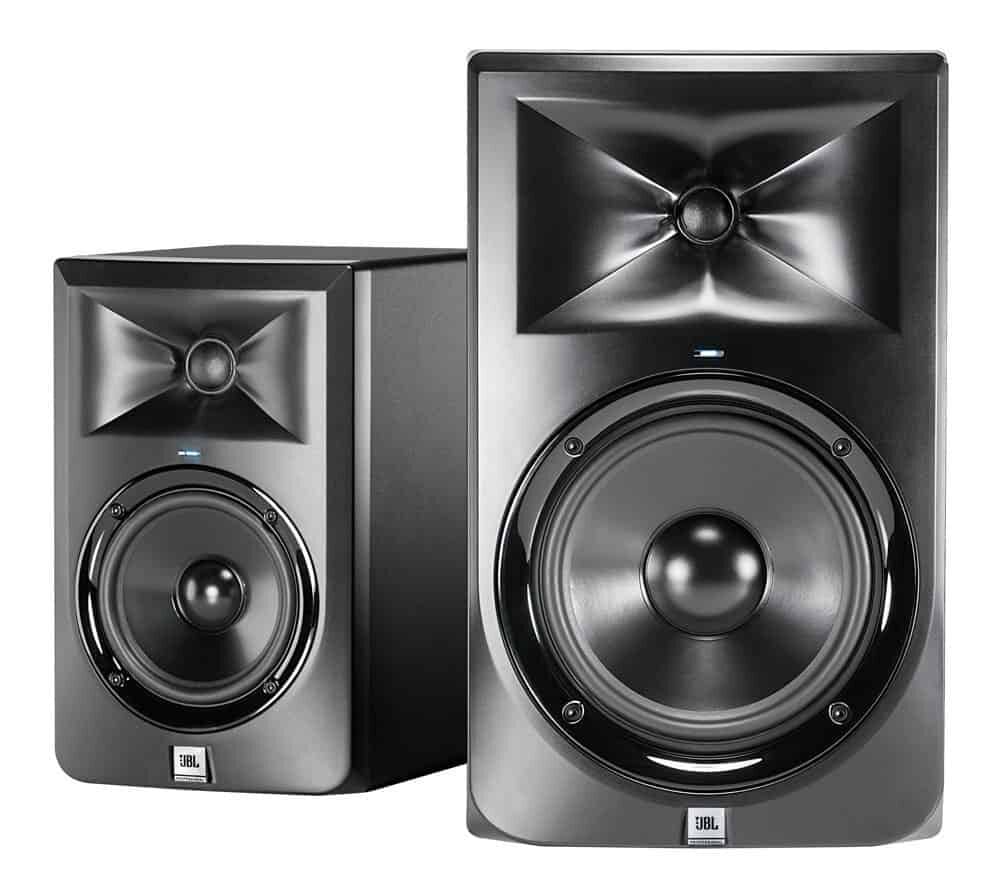
Studio monitors come in a variety of sizes. For smaller sized rooms, I recommend getting a 5″ model. The JBL LSR305s are relatively new and undiscovered. Every review I’ve read has been positive (this is a rare thing in the world of audio). I do have a pair of these myself, and they’re pretty much the deal of the year at $300/pair.
Headphones
Headphones aren’t 100% necessary for a small home studio, but they can be useful for vocal tracking and late night work. It’s also nice to have another referencing tool in addition to your studio monitors. There’s no need to splurge on headphones. In fact, many world class studios still use Sony MDR7506s. The Audio Technica ATH-M50 is another popular choice. These headphones will only set you back $100 or so.
Cables & Accessories
You’ll need cables to connect everything in your studio. To connect a microphone to the audio interface, you’ll need an XLR cable. To connect your studio monitors to the audio interface, you’ll need 1/4" TRS cables. If you don’t need too many, I recommend buying Mogami cables. They’re a little pricey, but they’re well made and sound great. If you’re looking for a cheaper option, GLS Audio makes decent quality cables. You’ll also want to invest in a microphone stand and a pop filter if you’re recording vocals. A pop filter is just an attachment that attenuates harsh “p” syllables. There are plenty of other accessories you can buy, but the above is all you’ll need to get started.
Here’s a theoretical final price list…
- MXL 990 Microphone – $120
- Focusrite 2i2 Audio Interface - $100
- Logic Pro X – $200
- JBL LSR305 Studio Monitors – $300
- Sony MDR7506 Headphones – $100
- Cables & Accessories – $150
- TOTAL – $970
Once you have all your equipment all set up and software installed, read the manuals! After that, watch or read some tutorials online, and start experimenting. Becoming a good recording engineer isn’t something you can learn from textbooks exclusively. Put yourself out there, record local bands, start composing music to record yourself, and just have fun. It’s all about finding opportunities and gaining experience.