There are 128 velocity values in the MIDI specification, and these values range from 0 to 127. When a virtual instrument is played, 128 different volumes that theoretically be achieved. Sometimes, changing the response (velocity curve) of an virtual instrument makes them easier or more expressive to play. Here’s an example of an Apple MainStage velocity graph.
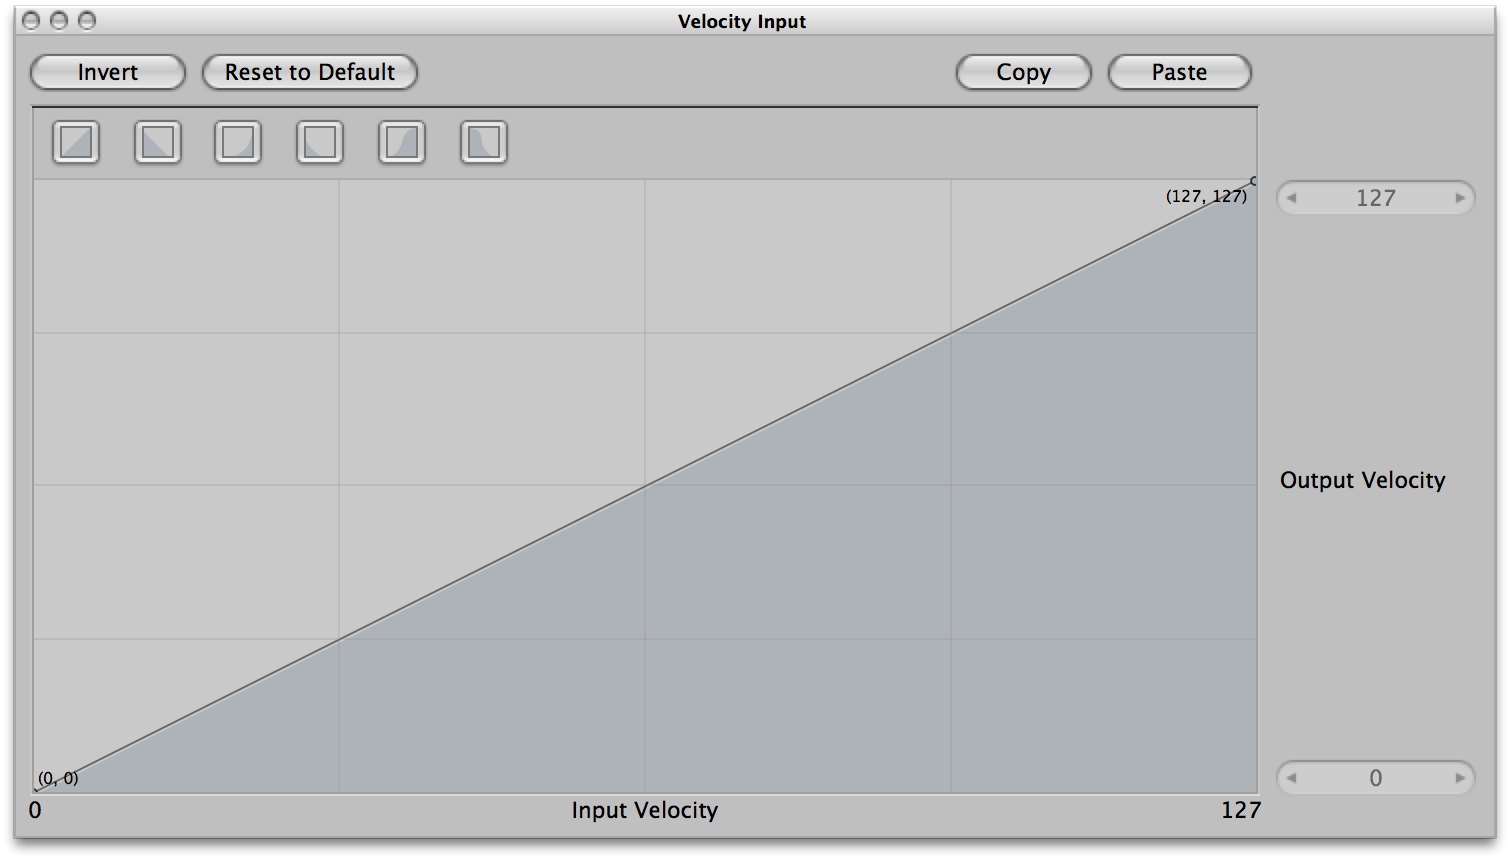
This is a standard velocity graph in MainStage. It’s linear, meaning the input velocity from playing the keyboard will be equal to the input velocity going into the virtual instrument. Here’s an example of a customized velocity graph.
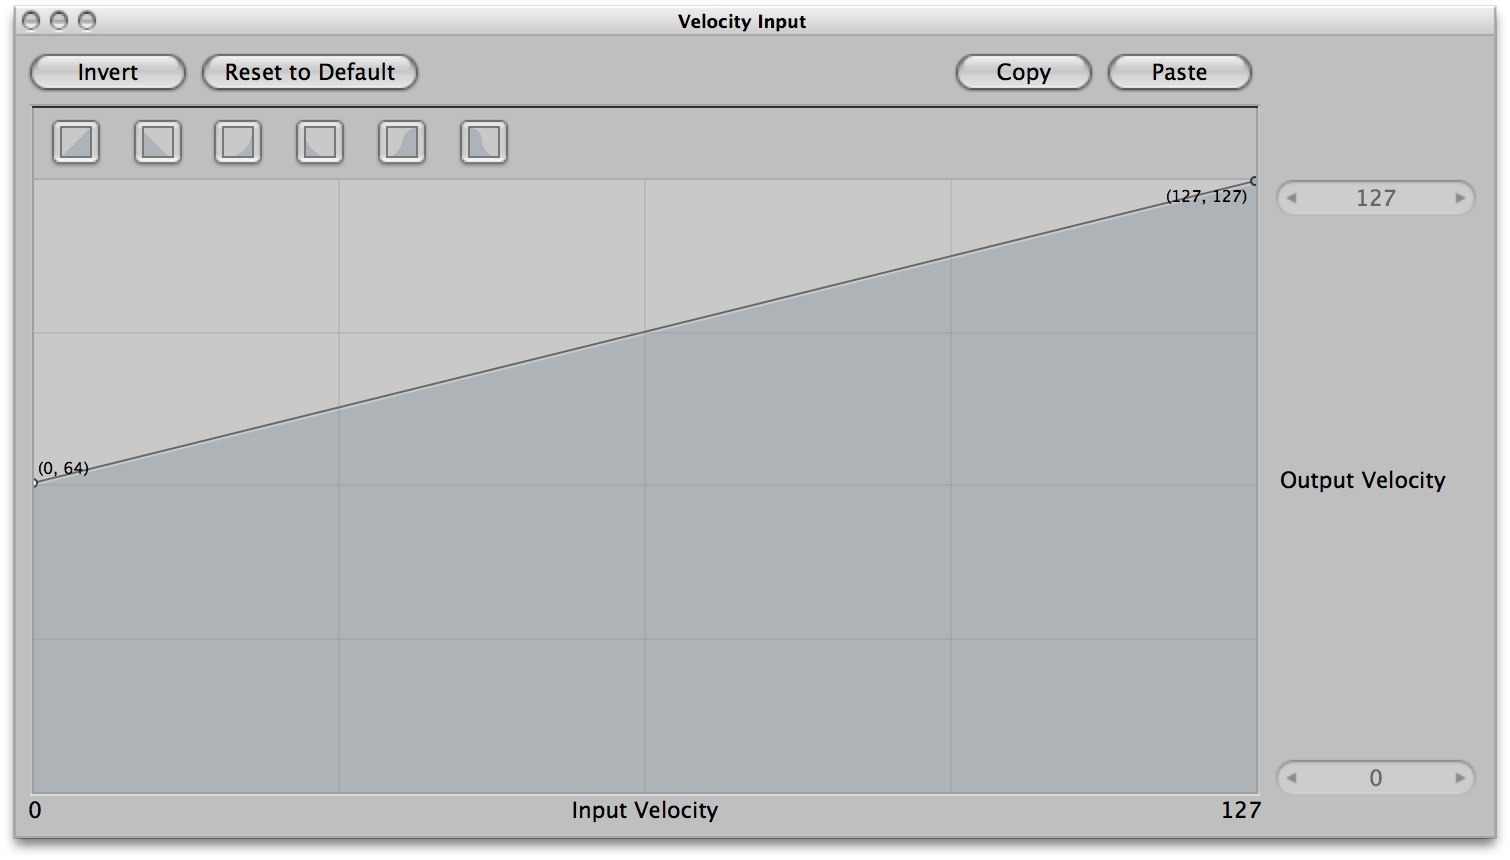
In this velocity graph, everything is scaled up by 64, so an input velocity of 0 into your keyboard will output a velocity of 64 into your virtual instrument. Think of the velocity graph as a middleman between your keyboard and the virtual instrument. It decides what your input velocity is “worth” before handing it over to the virtual instrument. Scaling velocity can be a very useful tool when it comes to keyboard programming for a musical theatre production. I use a lot for brass patches that have to be played fast and loud, which can feel unnatural. By changing the velocity graph for a brass patch, it’s possible to play fortissimo with a light touch.
Here’s how to customize velocity graphs in Apple MainStage.
- Click on the channel strip you want to customize.
- Click on “MIDI Input” then “Velocity Input” under “Velocity Scaling”. This effects the full range of the keyboard. If you want to customize a smaller section of the keyboard, use “Note Input” velocity scaling instead.
- Edit the velocity graph by double clicking on the graph and setting your X and Y points, or by customizing one of the preset curves.